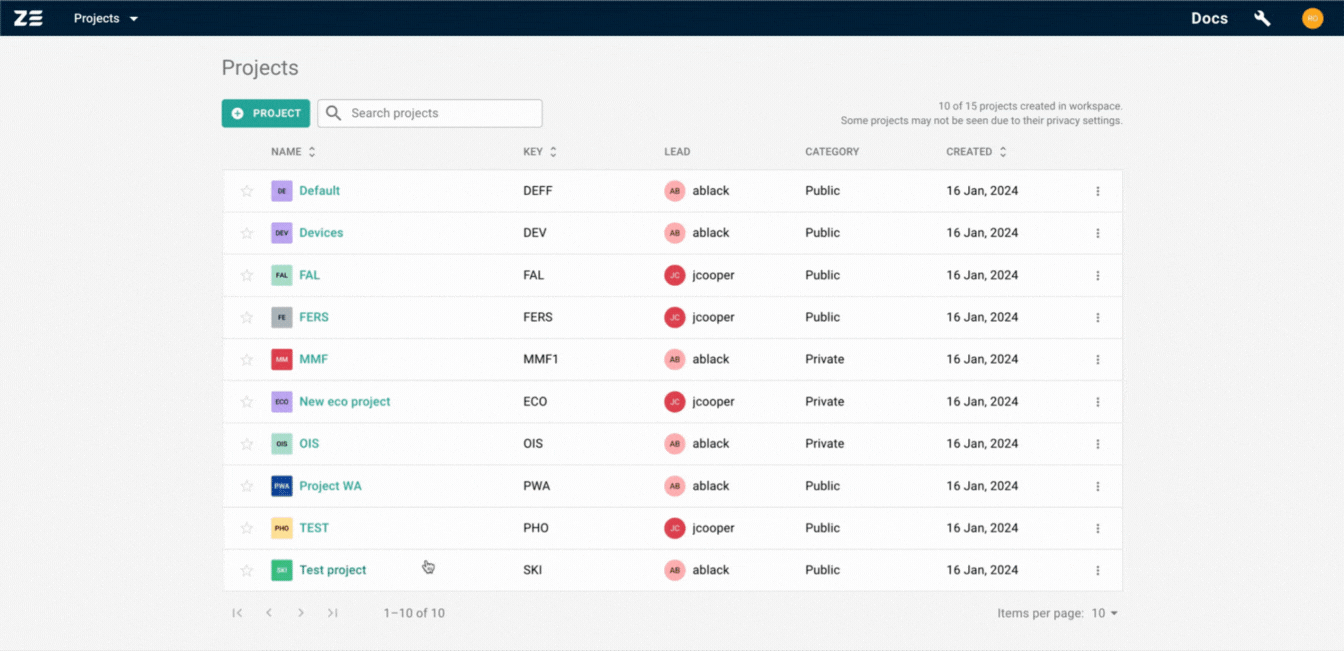
Projects#
Project is a main unit of an organization within a workspace. It is recommended to create a project per every real software development managed by organization. Each project owns its data, such as test suites, cases, runs and history of executions, exclusively and allows fine-grained access control.
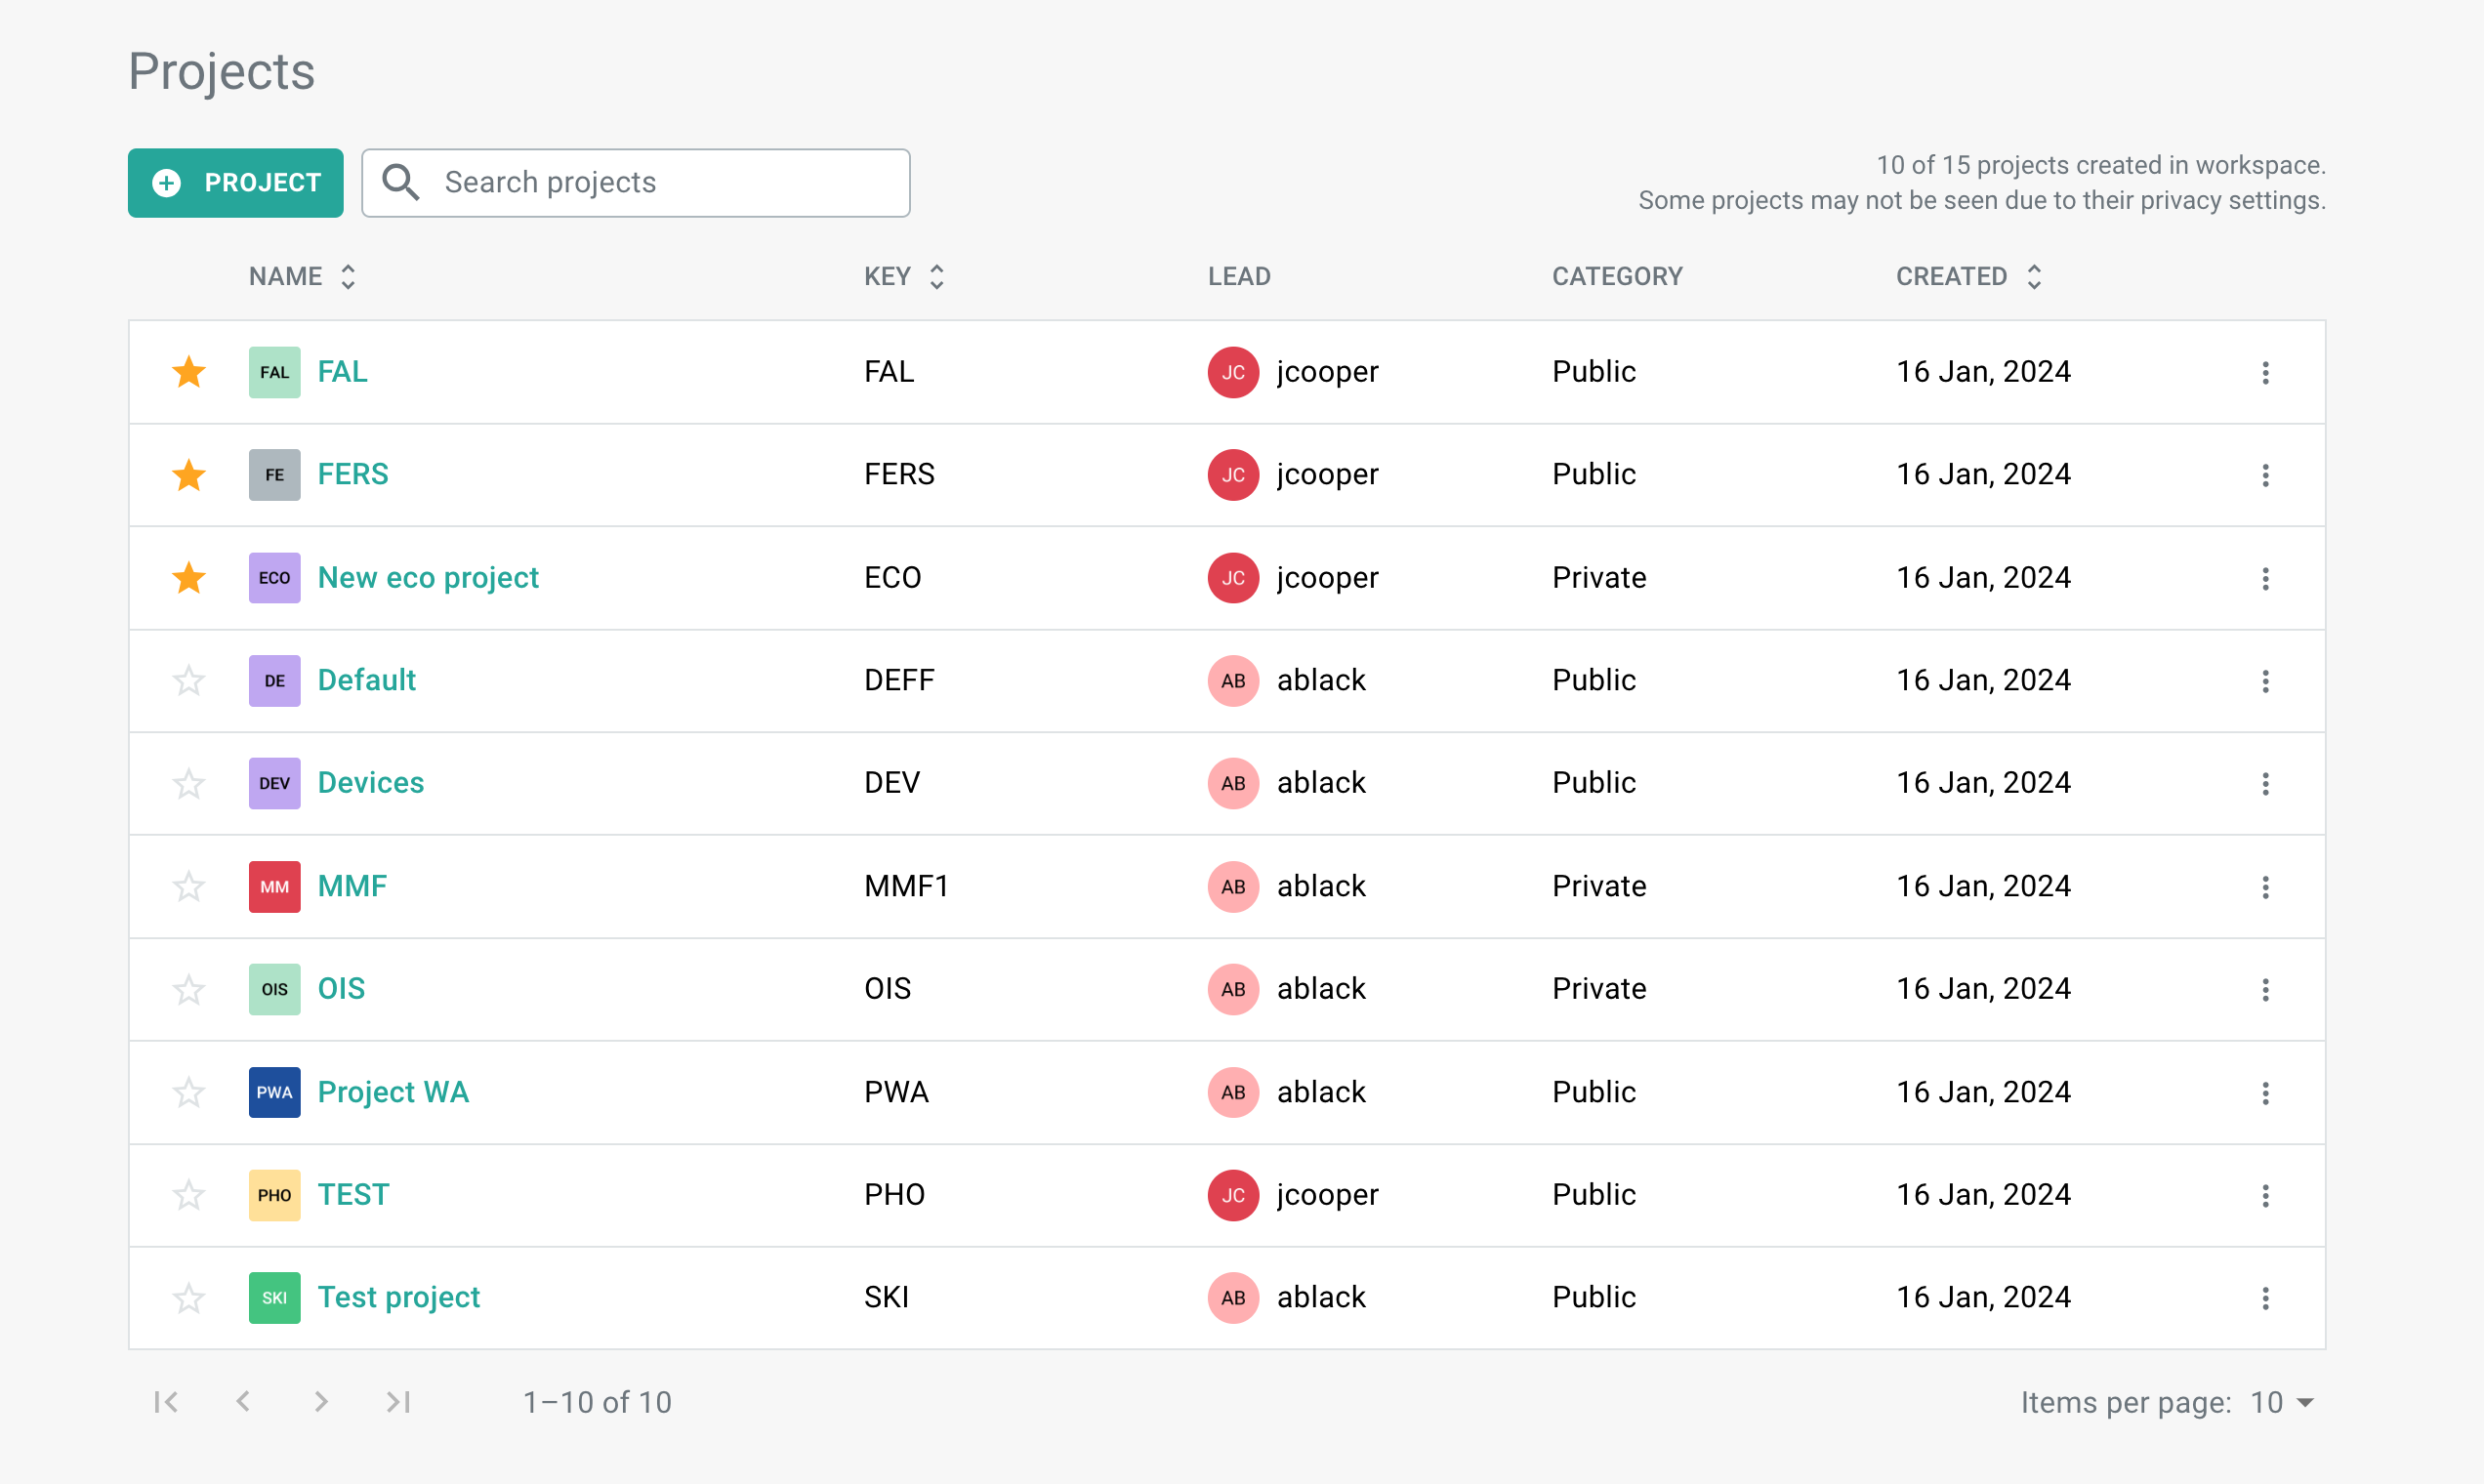
This guide collects information on how to manage projects in Zebrunner, define project members and their roles.
Default project#
As soon as your workspace is created, the Default project is automatically generated. The workspace creator is automatically added to users as a workspace Admin (Admin group) and to the Default project members list as an Administrator.
Info
Default project is pre-created solely for demonstrational purposes: it allows you to play around with Launcher, test data and dashboards to get an idea of what you'll get once you'll start sending your test data to Zebrunner
The Default project can be edited and deleted in the same way as any other project in the workspace.
Working with projects#
When working with projects, you can perform the following actions:
- Create a new project
- Edit a project
- Delete a project
- Add frequently used projects to Starred
Creating a project#
To create a new project, perform the following steps:
- In the header, access the Projects selector and select Create a project. Alternatively, navigate to the projects page and click the Project button.
- Provide a meaningful name for your project. Please note that the project name should consist of Latin letters, numbers, and spaces, and it must be between 1 and 40 characters in length.
- Assign a unique project key, which serves as the project’s identifier. The key should be between 3 and 6 characters, containing only Latin letters and numbers.
- Optionally, you can designate the project lead by selecting a user for this role. The chosen user will then be added as an administrator.
- Choose the project's visibility as either public or private by toggling the switch. By default, the project will be set to Public.
- If applicable, upload a project logo to personalize the project.
- Once all the details are entered, click the Create button to initiate the project creation process.
The project creator will be automatically added to the project members as an Administrator and will be able to assign other project roles and edit the project.
Projects amount limit
You can create only a certain amount of projects depending on your current pricing plan. If you try to exceed this limit, you’ll get an alert message, and will need to do one of the following:
- subscribe to a plan with a bigger number of projects available
- update the current list of projects
Editing a project#
To edit a project, you must have either the project Administrator/Manager roles or be an Admin of the workspace.
For this action perform the following steps:
- In the header, access the Projects selector and select View all projects. Alternatively, navigate to the projects page.
- Pick the project and go to More Options on the right. From the dropdown, select the Edit option. Here, you can customize various aspects of the project:
- Modify the project name and key.
- Set the project's visibility as either public or private using the toggle switch.
- Assign a project lead to oversee the project.
- Upload or update the project logo.
- After applying the changes, press Save.
Deleting a project#
To delete a project, you must have either the project Administrator/Manager roles or be an Admin of the workspace.
For this action perform the following steps:
- In the header, access the Projects selector and select View all projects. Alternatively, navigate to the projects page.
- Choose the project you wish to delete and click on More Options located on the right. From the dropdown, select the Delete option.
- Confirm the action by pressing Delete again
Note
After deleting a project, all the info including test run results and dashboards will be deleted as well
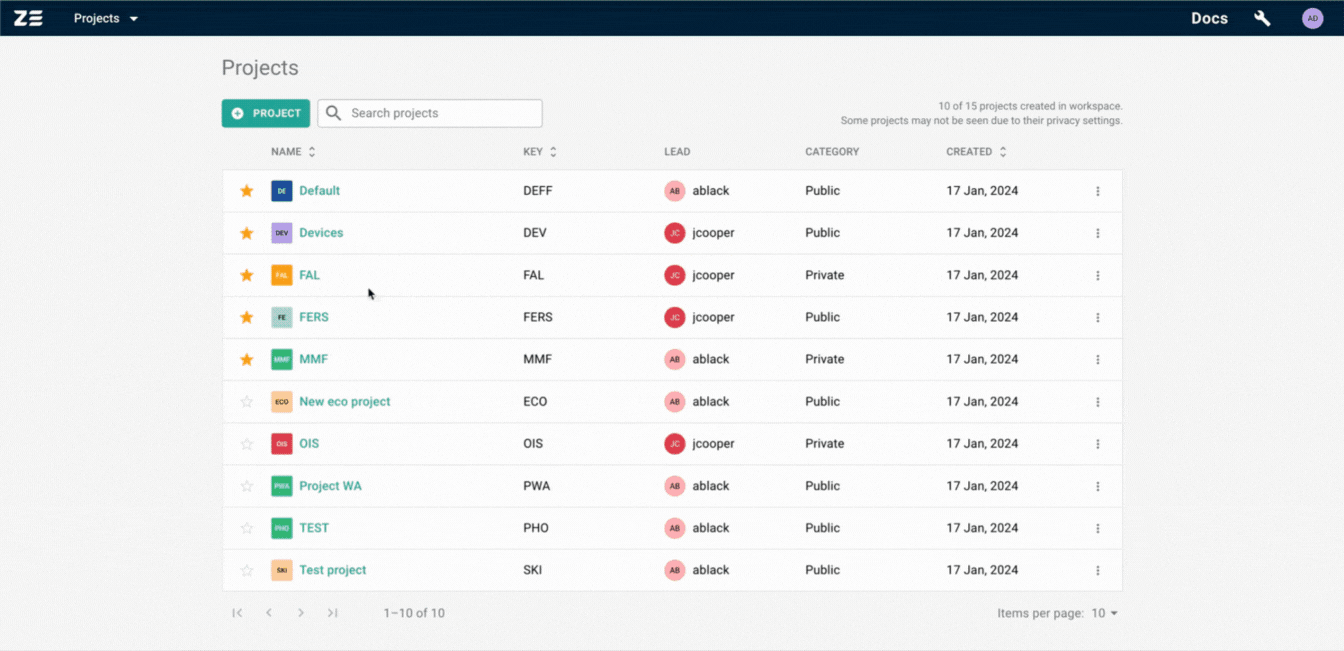
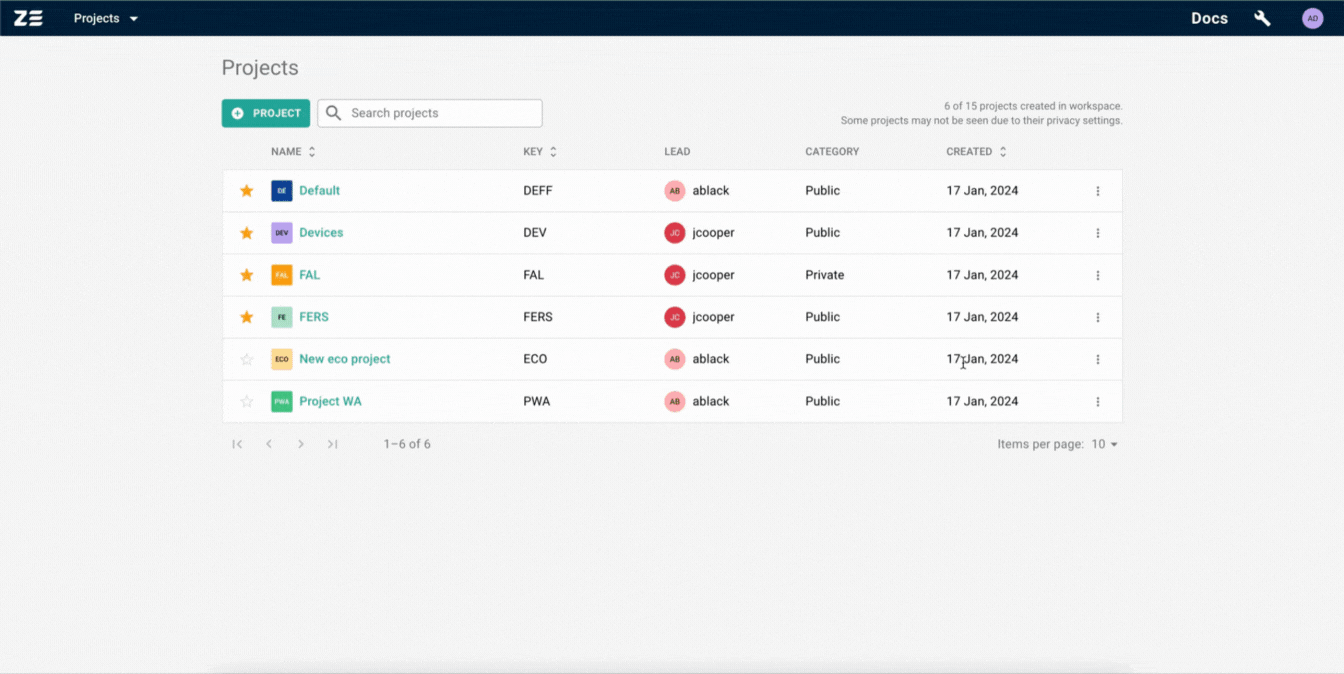
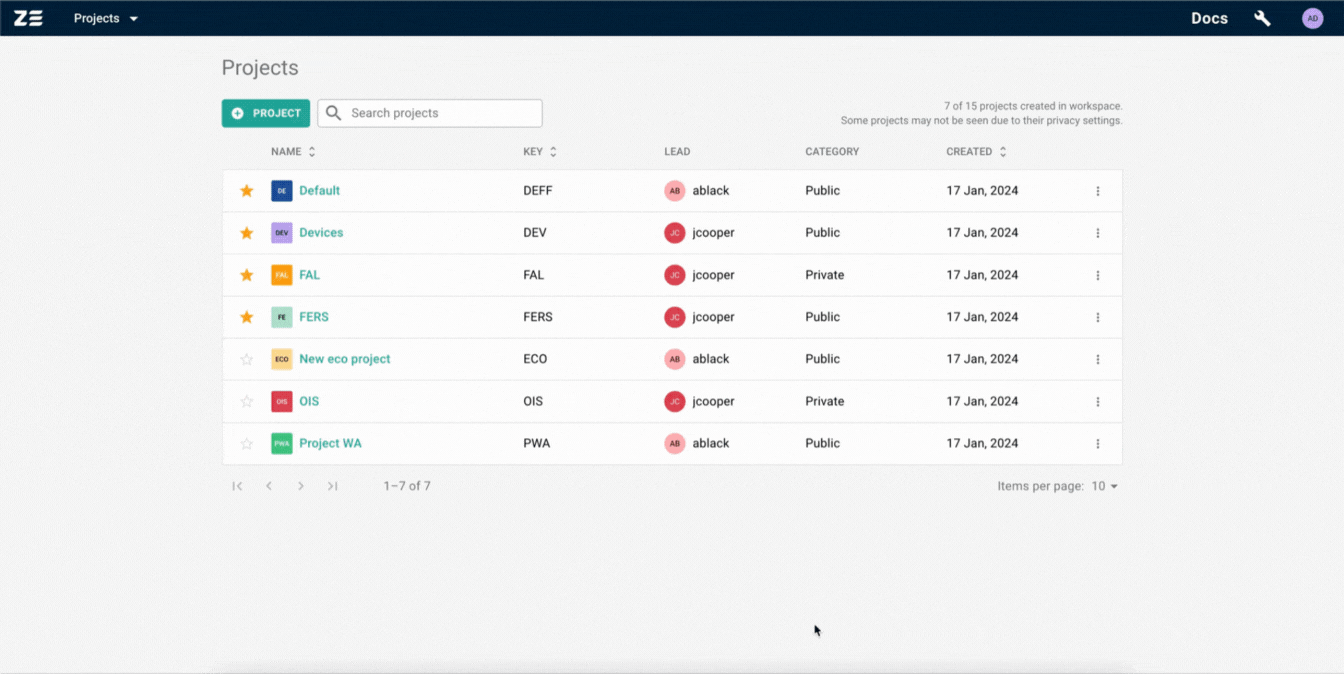
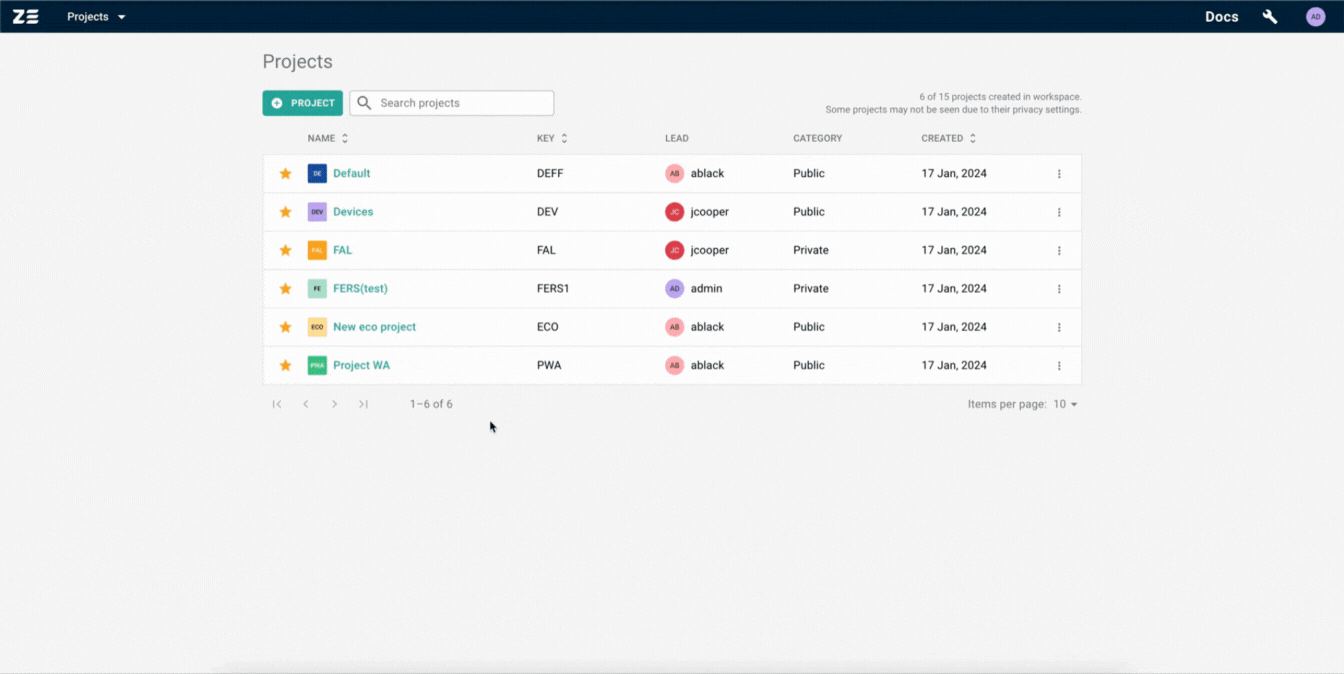
Adding projects to Starred#
To enhance the visibility and expedite navigation between projects, you can star the ones you frequently work in. When a project is starred, it is pinned to the top of the projects grid page and appears in the designated section of projects selector. By leveraging this feature, you can prioritize essential projects and access them quickly.
To add a project to starred, click on the star icon next to the project name in the grid or project switcher. This action will designate the project as starred. If the project is already starred, clicking the star icon will remove it from starred.
Info
Each user can define their own set of starred projects.
Access control#
There are 2 types of projects in Zebrunner: public and private.
All users in the workspace will have access to all public projects (with certain limitations like view-only permission depending on the role in the workspace and projects).
The information inside private projects is only available to project members and workspace admins.
To make a project public or private, use the green switch while creating or editing a project.
Projects selector#
The Projects selector is situated in the application's header and includes:
- Recent projects
- Starred projects
- A View all Projects button
- A Create a Project button
Project members and roles#
Default project roles#
Project members may have different roles within every project:
Administrator — CAN add or delete project members with ANY role, edit members roles, edit or delete THEIR projects. CAN perform any actions on test runs and dashboards, including creating, editing, or deleting dashboards.
Manager — CAN add or delete members (with roles except for Administrator), edit members roles (except for Administrator), edit or delete THEIR projects. CAN perform any actions on test runs and dashboards, including creating, editing, or deleting dashboards.
Engineer — CANNOT change project roles, add or delete project members, edit or delete projects they are in. CAN perform all actions on test runs within the project, CAN send dashboards and widgets by email, but CANNOT add, edit or delete widgets or dashboards.
Guest — CANNOT change project roles, add or delete project members, edit or delete projects they are in. CAN only view project members. Have view-only permissions inside the project (cannot run, edit, delete test runs, create, edit or delete dashboards or widgets, but CAN view and send test run results, widgets, and dashboards via email).
Info
If a user is not a member of a certain public project, they have the same permissions as a Guest
Project Lead — an optional role that may be used to mark a project representative within your organization. It can be a project manager, product owner or project coordinator who can be contacted to request access to a project by an external (to the project) user.
Info
Only a project Administrator or Manager can be assigned as Project Lead. Basically, Project Lead has the same permissions as Administrator or Manager
Adding a member to a project#
Info
Within a project, you can only add existing users that were already invited to the workspace (as Admins or Users). Keep in mind that the maximum number of users that you can add to your workspace is determined by the current pricing plan
Info
You need to be a project Administrator/Manager or an Admin of the workspace to have the ability to add project members
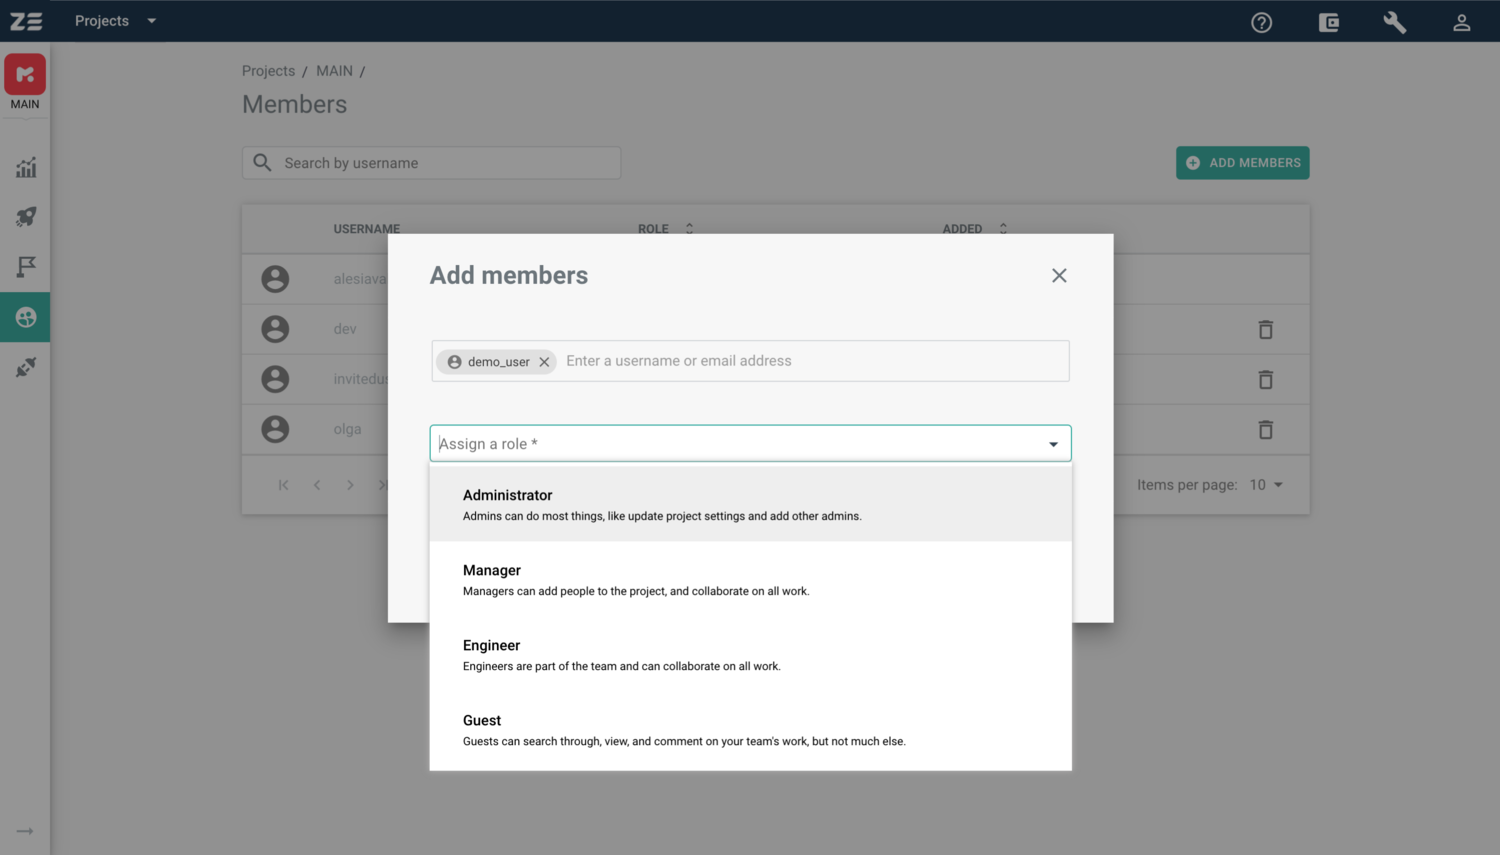
To add members to a project, perform the following steps:
- Access the Members grid (via Projects grid → Members or from the navigation sidebar of your project)
- Press Add members, a new dialogue will appear
- Enter the username(s) or email address(es) of the existing user(s) you want to add to the project
- Assign the project role (Administrator, Manager, Engineer, Guest)
- Press Save
Updating a member role in a project#
Info
You need to be a project Administrator/Manager or an Admin of the workspace to have the ability to update the roles of project members
To update a project member role, perform the following steps:
- Access the Members grid (via Projects grid → Members or from the navigation sidebar of your project)
- In the Role column, click on the drop-down for the needed member
- Select the needed role from the list

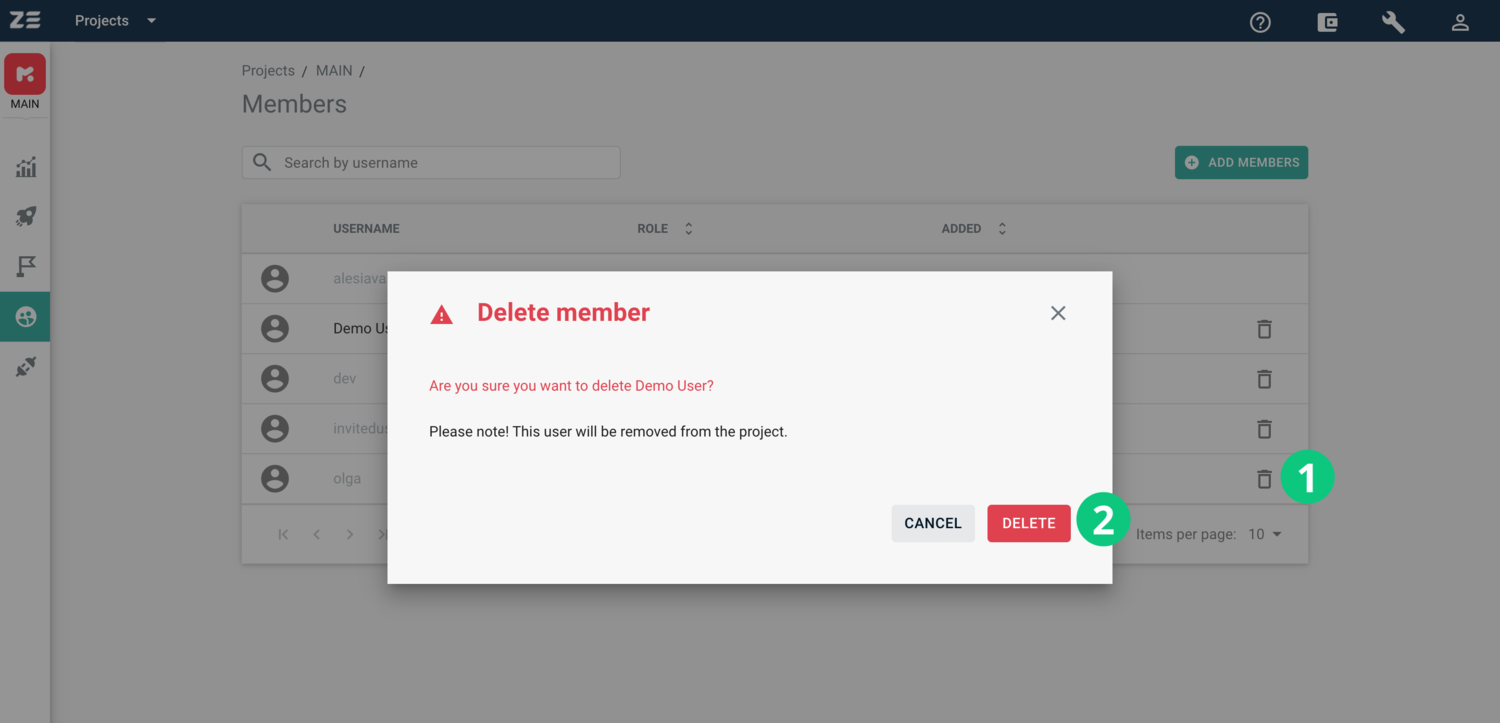
Removing a member from a project#
Info
You need to a project Administrator/Manager or an Admin of the workspace to have the ability to delete members from a project
To delete a member from a project, perform the following steps:
- Access the Members grid (via Projects grid → Members or from the navigation sidebar of your project)
- To the right of the member you’d like to delete, press Delete
- Confirm the action by pressing Delete again
Info
At least one Administrator must be present in a project. You cannot delete the only remaining Administrator
Info
You cannot delete yourself from the project or change your role. Please ask other Administrators to do this